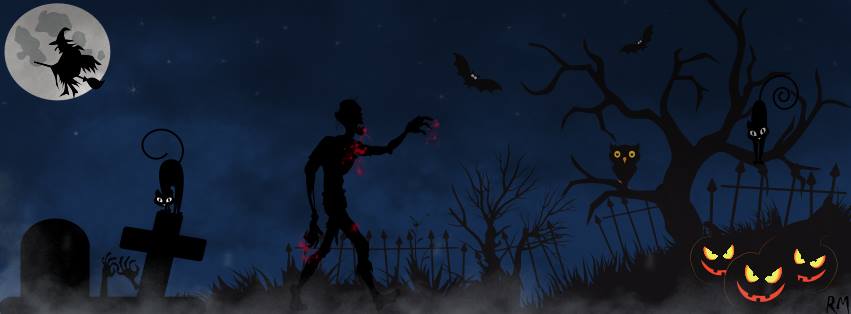
 If there is just one image that you can conjure up in the mind about Halloween, what would it be. You have guessed it – it would be a carved out orange jack-o-lantern pumpkin. Along with its ghoulish like face, and lit up by a flickering candle inside.
The original Halloween Jack-o-Lantern that came from Ireland and Scotland were more often than not, made out of turnips. These were smaller than a pumpkin which we now accept as the standard Halloween design in America.
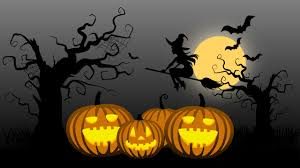
Halloween Decor:
One of the best things using a pumpkin is that they are easier to carve. Which gives you a lot more scope to design an stunning face on the side of the pumpkin. The color of a pumpkin is either grey or orange. But it is the orange color that has become the most popular one that is associated with Halloween.
First of all, make sure that your pumpkin is not too ripe. And there are two easy ways you can tell. Second, just tap the side of the pumpkin, and it should sound firm – not hollow. If there is a strong pumpkin smell, do not use it. Third, look at its appearance as well. What you are looking for is a smooth high and round shape with good color. You do not want one that has a lot of bruises or blemishes. Make sure that you do not carry your pumpkin by its stem. Or else it might break off in your hand, and land squashed on the floor.
Halloween Pumpkin Design:
Preparing your pumpkin, you will first need to clean and dry it. Then you will need to cut a small circle around the stem so you can remove the top. After you have done this, you will need to remove the soft flesh and seeds from inside the pumpkin. You will then be left with a thick wall of flesh inside the skin. You will need to carry on scraping the inside until you have quite a firm and smooth surface all round. Making sure that you have a flat base where you can stand a candle. Look for a short fat candle, which are ideal and more stable. A sturdy large spoon is ideal for cleaning inside a pumpkin. Now you are ready to carve a face onto the pumpkin.
Best Halloween Pumpkin Carving Ideas
At this point, some people might grab a kitchen knife and start cutting away. Lets just say that there is a better way to do this. First, you need to decide what your design is going to look like. You could even buy stencils that have intricate Halloween Jack-o-Lantern faces.
Alternatively, you can decide to design your own on a sheet of paper using a pen or pencil. You might be able to find one that you could print from the internet. A nice looking design will make all the difference to the quality of your jack-o-lantern. Working out a design at the beginning will look a lot more detailed than a work on it as you go method.
First decide where you want the face to be and place your template there held with some sticky tape. You then need to make a dotted line with something sharp all around the pumpkin template. Push the sharp object through the paper and into the pumpkin so that you end up with an outline of the design. So that when you remove the paper, there will be a series of dots that will outline your design. This method will make it easy for you to carve out the face.
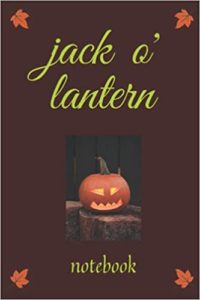
jack o’ lantern: halloween themed lined notebook:
This a Jack o Lantern notebook in witch you can write down all the mysterious things that happen in your life.
Or write down all the exciting things you are going to do with your life – but remember – secrecy is the word here.
Halloween Pumpkin Carving:
If your design is quite detailed. you may find that most kitchen knives are not really ideal for getting into all the corners. This type of knife is not designed for carving, and you could end up cutting yourself. Pumpkins can be quite firm and not easy to cut into.
It might seem a bit like over-kill, but if you have an electric drill and a keyhole saw you are in luck. Because you are going to find it so much easier, quicker and more precise when you work with the ideal tools. Drill a few holes that will give your keyhole saw a good start. Then saw around the outlines that you have made. The keyhole saw is ideally suited for this kind of exacting work and give you a professional finish.
When you have cut out all of the pieces, knock them out. You can then trim up the edges and corners and inside of the pumpkin with something suitable. Then you can place your candle inside, and step back to admire your work. If you have made a wonderful Halloween Jack-o-Lantern, like the ones in the video, others will admire it for you.